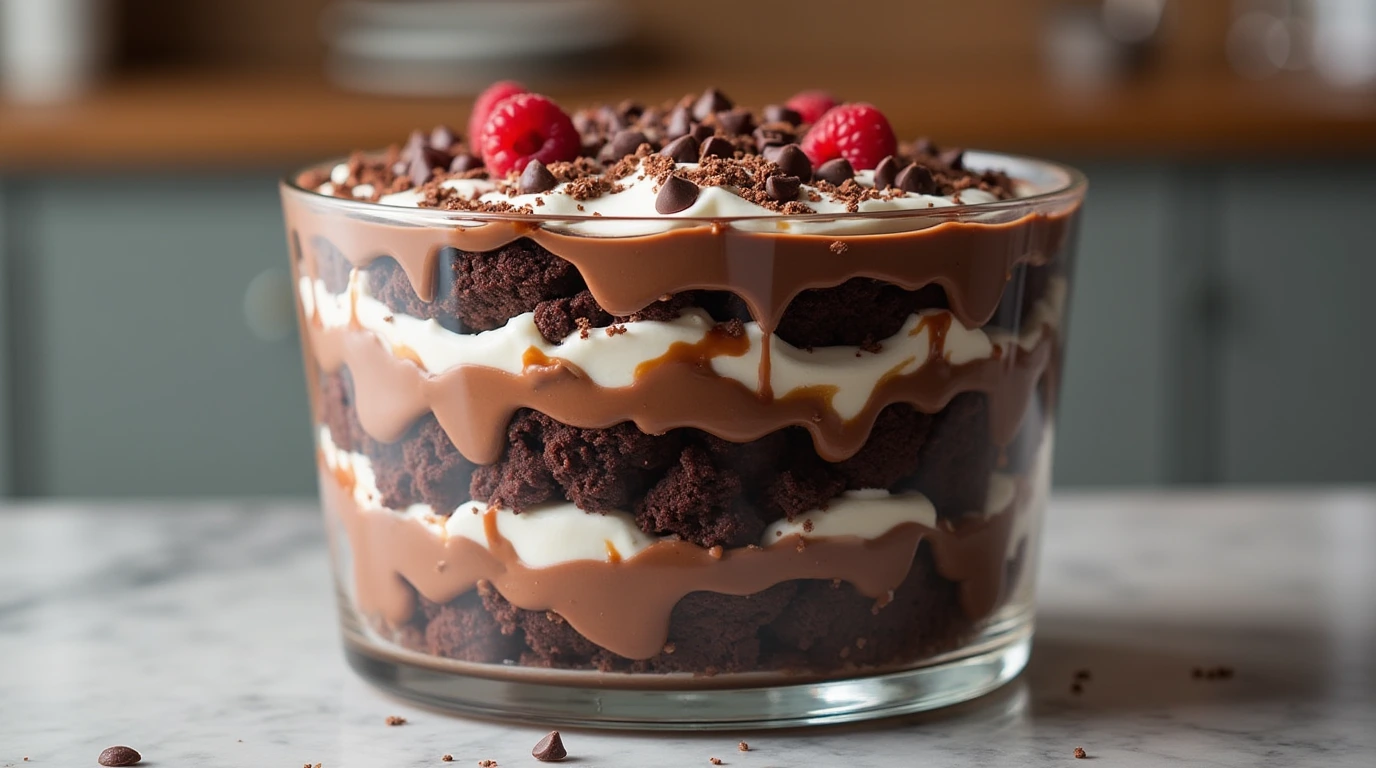
If you’re a true chocolate lover, get ready to fall in love with the most indulgent dessert ever—Death by Chocolate Trifle! This rich, layered treat is packed with everything you crave: moist chocolate cake, silky chocolate pudding, fluffy whipped cream, and decadent chocolate ganache. It’s the perfect combination of creamy, fudgy, and melt-in-your-mouth goodness.
The best part? It’s incredibly easy to make, requires no baking if you use store-bought cake, and is an absolute showstopper for any occasion. Whether you’re hosting a party, celebrating a holiday, or just satisfying a chocolate craving, this trifle is guaranteed to impress.
Table of Contents
Ingredients for the Ultimate Death by Chocolate Trifle
List of Key Ingredients
To create the most indulgent Death by Chocolate Trifle, you’ll need a few simple but decadent ingredients. Each layer brings a unique texture and flavor, making this dessert a chocolate lover’s dream. Let’s break them down:
1. Chocolate Cake or Brownie Chunks (Base Layer)
The foundation of this trifle is a rich, chocolatey base. You can use homemade chocolate cake, fudgy brownies, or even store-bought options to save time. If you love an extra gooey texture, brownies are a fantastic choice, while cake gives it a lighter, more spongy feel. Either way, breaking them into bite-sized chunks creates the perfect layers to soak up the pudding and whipped cream.
2. Chocolate Pudding (Creamy Texture)
Chocolate pudding adds a silky, creamy element that brings the whole dessert together. You can use instant pudding mix for convenience or go for a homemade chocolate custard if you prefer a richer flavor. The pudding acts as a glue between the layers, ensuring every bite is smooth, chocolatey, and indulgent.
3. Whipped Cream (Light and Airy Contrast)
With so much chocolatey richness, a generous layer of whipped cream helps balance it out. It adds a light, airy contrast that keeps the dessert from feeling too heavy. You can use store-bought whipped topping for a quick fix, or make your own by whipping heavy cream with a little sugar and vanilla extract for a fresh, creamy touch.
4. Chocolate Ganache or Chocolate Chips (Extra Richness)
A Death by Chocolate Trifle wouldn’t be complete without even more chocolate! Drizzling warm chocolate ganache between layers adds a luscious, velvety finish, while chocolate chips provide a satisfying crunch. You can also mix dark, milk, or white chocolate chips throughout for extra bursts of flavor.
5. Cocoa Powder & Vanilla Extract (Enhanced Flavor)
A little bit of cocoa powder sprinkled over the layers deepens the chocolate intensity, while a splash of vanilla extract enhances the overall sweetness and aroma. These small but powerful ingredients take your trifle from good to unforgettable.
6. Optional Toppings: Dark Chocolate Shavings, Nuts, or Berries
For the final touch, get creative with toppings! Dark chocolate shavings add elegance, crushed nuts like almonds or hazelnuts bring crunch, and fresh berries (such as raspberries or strawberries) provide a sweet and slightly tart contrast that complements the richness of the chocolate.
Step-by-Step Guide to Making the Best Chocolate Trifle
Preparing the Chocolate Layers
The secret to an irresistible Death by Chocolate Trifle lies in the rich, chocolatey layers. Preparing these layers correctly ensures the perfect balance of textures—from fudgy cake to creamy pudding, fluffy whipped cream, and crunchy chocolate toppings. Let’s go step by step to get everything ready before assembling the trifle.
1. Baking or Choosing Your Chocolate Cake or Brownies
The base of this trifle is chocolate cake or brownies, and you have a couple of options:
- Homemade – If you love baking, make a moist chocolate cake or chewy, fudgy brownies from scratch. Let them cool completely before cutting them into bite-sized chunks.
- Store-bought – If you’re short on time, a pre-made chocolate cake, boxed brownies, or even chocolate muffins work just as well. Just cut or crumble them into pieces before layering.
- Cookies as an Alternative – Want some crunch? Chocolate cookies like Oreo chunks or chocolate chip cookies can be a fun twist on the classic trifle base.
2. Making the Creamy Chocolate Pudding
This layer adds a smooth, silky texture to the trifle and enhances the chocolate flavor. You can prepare it in two ways:
- Instant Chocolate Pudding: A quick and easy option—just whisk together a packet of instant chocolate pudding mix with cold milk and let it set for a few minutes.
- Homemade Chocolate Custard: If you prefer a richer, deeper flavor, make a pudding from scratch using milk, sugar, cocoa powder, cornstarch, and melted chocolate. Simmer it on low heat until thick and creamy, then let it cool before using.
3. Whipping Up the Whipped Cream
To balance the richness of the chocolate, a fluffy whipped cream layer is essential. You can either:
- Use Store-Bought Whipped Topping: Like Cool Whip for a convenient shortcut.
- Make Fresh Whipped Cream: Whip cold heavy cream, a little sugar, and a splash of vanilla extract until soft peaks form. This gives a fresher, richer taste.
4. Preparing the Extra Chocolate Layers
Since this is Death by Chocolate, we need more chocolate!
- Chocolate Ganache: Melt chocolate chips with warm heavy cream for a velvety, drizzle-worthy ganache.
- Chocolate Chips or Shavings: Chop up dark, milk, or white chocolate for an added layer of texture.
- Cocoa Powder: Lightly dusting cocoa powder between layers enhances the depth of chocolate flavor.
Assembling the Trifle
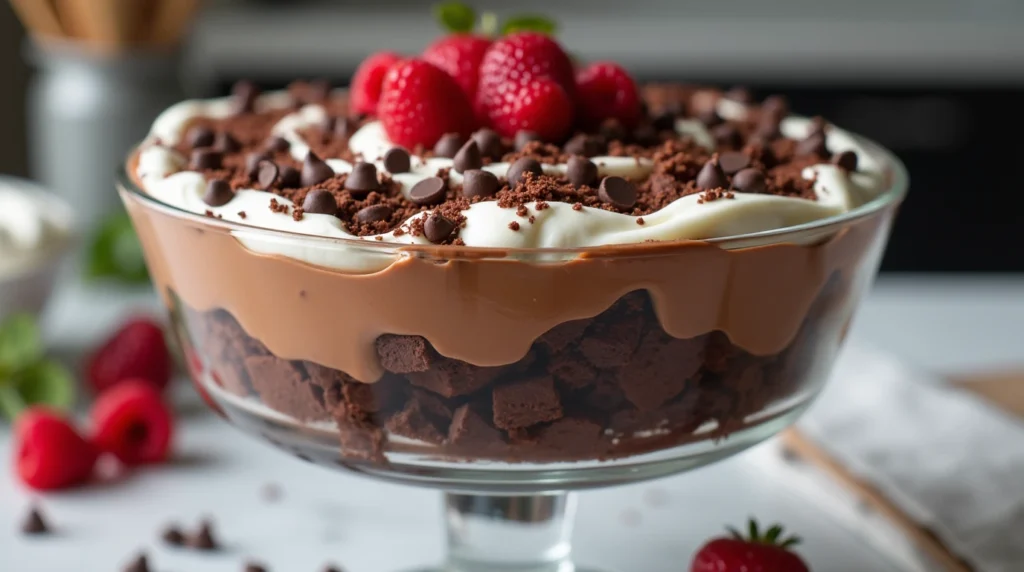
Now that all your delicious chocolate layers are ready, it’s time for the fun part—assembling the trifle! This is where you’ll see your dessert come together into a beautiful, indulgent masterpiece. Whether you’re using a classic trifle bowl, a glass dish, or even individual serving cups, layering everything correctly ensures each bite is a perfect combination of cake, pudding, whipped cream, and chocolate goodness.
1. Start with a Layer of Chocolate Cake or Brownies
The first layer at the bottom of your bowl should be chocolate cake or brownie chunks. Arrange them evenly to create a solid base. If you like extra moisture in your trifle, you can lightly drizzle the cake with a little chocolate syrup, coffee, or even Baileys Irish Cream for a grown-up twist!
2. Add a Generous Layer of Chocolate Pudding
Next, spread a thick layer of chocolate pudding over the cake. Use a spoon or spatula to ensure it reaches all the edges. This pudding acts as a glue, soaking into the cake and making every bite ultra-creamy and rich.
3. Fluffy Whipped Cream for Balance
After the pudding, add a layer of whipped cream. This provides a light, airy contrast to the richness of the chocolate. Use the back of a spoon to spread it evenly or pipe it in for a fancy touch. If you love extra sweetness, sprinkle in some powdered sugar or a hint of vanilla extract before adding it.
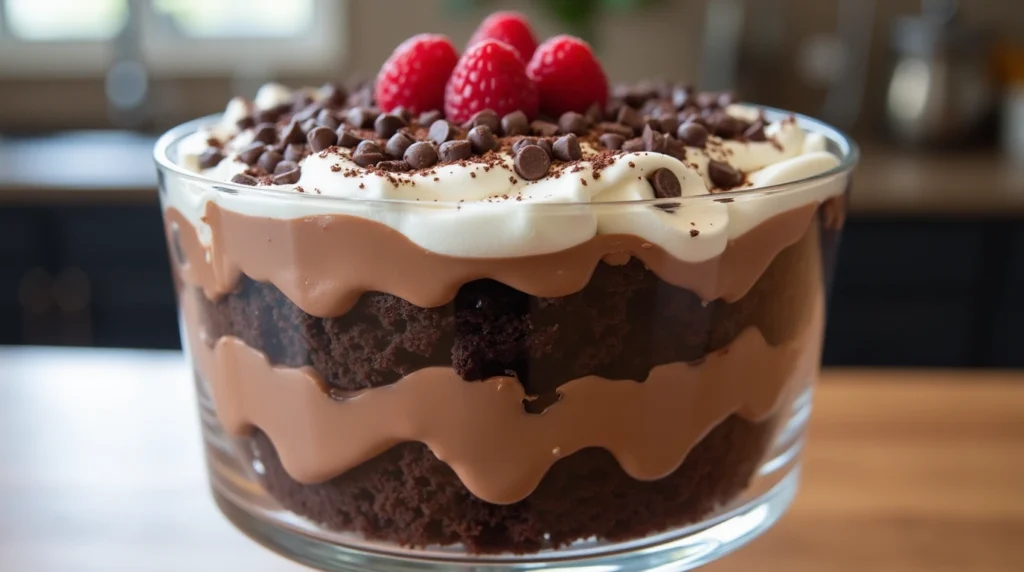
4. Repeat the Layers
Now, repeat the layering process until your bowl is full:
- Chocolate cake/brownies
- Chocolate pudding
- Whipped cream
Depending on the size of your dish, you’ll get two to three layers stacked beautifully on top of each other.
5. The Ultimate Chocolate Toppings
A Death by Chocolate Trifle wouldn’t be complete without extra chocolate on top! Here are some ways to make it extra special:
- Drizzle with warm chocolate ganache for a glossy, luxurious finish.
- Sprinkle chocolate chips, dark chocolate shavings, or cocoa powder for extra richness.
- Add chopped nuts, like almonds or hazelnuts, for a slight crunch.
- Garnish with fresh berries (strawberries, raspberries, or cherries) for a pop of color and a hint of tartness.
6. Let It Chill
For the best flavor and texture, refrigerate the trifle for at least 1-2 hours before serving. This allows the layers to meld together, making each bite even more decadent. If you’re making it ahead for a party, you can prepare it a day in advance and keep it covered in the fridge.
Adding the Final Touches
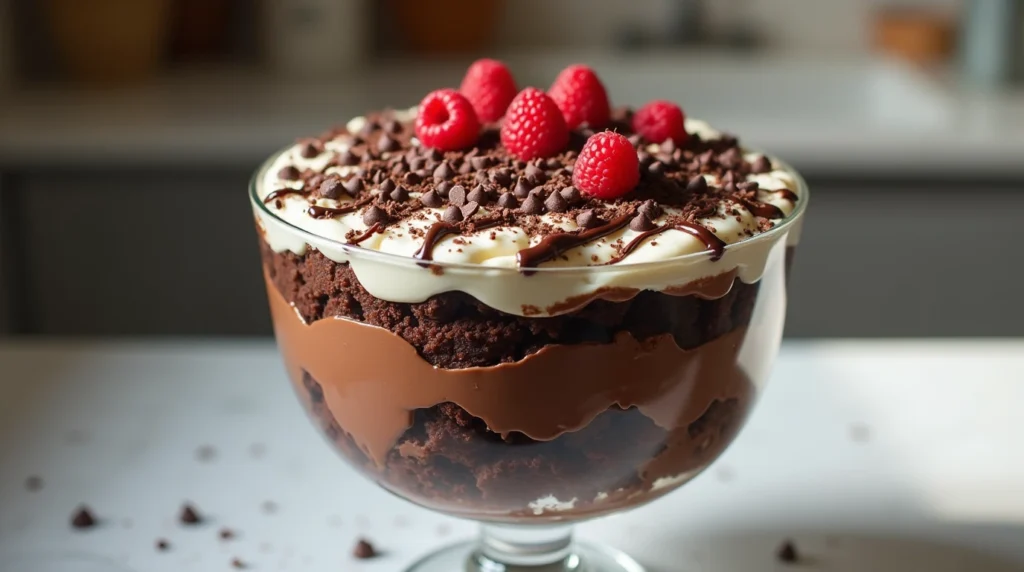
Now that your Death by Chocolate Trifle is beautifully layered, it’s time to take it to the next level with some finishing touches. This is where you can get creative and add a little extra chocolate magic to make your trifle not only taste amazing but look absolutely irresistible.
1. Drizzle with Chocolate Ganache
For a luxurious and glossy finish, warm some heavy cream and mix it with melted chocolate to create a silky chocolate ganache. Drizzle it generously over the top layer of whipped cream, letting it cascade down the sides for a stunning effect. This adds even more chocolate richness and makes the trifle look extra decadent.
2. Sprinkle Chocolate Shavings or Cocoa Powder
A light dusting of cocoa powder over the top adds a sophisticated touch, while chocolate shavings (made by scraping a bar of chocolate with a vegetable peeler) give it an elegant, professional look. Use dark, milk, or white chocolate shavings for a contrast of flavors.
3. Add Chocolate Chips or Chunks for Extra Crunch
For a delightful texture, sprinkle mini chocolate chips, chopped chocolate bars, or crushed chocolate cookies on top. This not only enhances the chocolatey goodness but also gives each bite a satisfying crunch.
4. Garnish with Whipped Cream Swirls
If you want to make your trifle look extra fancy, use a piping bag to add swirls of whipped cream around the edges. This makes the dessert visually appealing and gives it that bakery-style charm.
5. Nuts for a Nutty Twist
If you love a little crunch, sprinkle some chopped almonds, hazelnuts, or pecans on top. Nuts add a toasty, nutty contrast to the rich chocolate layers and provide a satisfying bite.
6. Fresh Berries for a Pop of Color
For a slight tartness to balance all the sweetness, add fresh berries like raspberries, strawberries, or cherries. Not only do they add a refreshing flavor contrast, but they also make the trifle look even more appetizing.
7. Let It Set for the Best Flavor
Although it might be tempting to dig in right away, letting your trifle chill in the refrigerator for at least 1-2 hours allows the layers to meld together. The cake absorbs some of the pudding, making the flavors even richer and the texture even more delightful.
Conclusion
And there you have it—your Death by Chocolate Trifle is complete! This isn’t just any chocolate dessert; it’s a masterpiece of layers upon layers of rich, chocolatey goodness. From the fudgy chocolate cake or brownies to the creamy pudding, fluffy whipped cream, and indulgent chocolate toppings, every bite is a dream come true for chocolate lovers.
One of the best things about this trifle is how easy and versatile it is. Whether you make everything from scratch or use store-bought ingredients, it still turns out absolutely delicious. Plus, it’s a no-fail, no-bake dessert that looks elegant but requires minimal effort—perfect for when you want to impress guests without spending hours in the kitchen.
This trifle is great for so many occasions:
- A showstopping dessert for parties and gatherings
- A fun treat for chocolate lovers on birthdays and holidays
- A make-ahead dessert for when you need something stress-free
- A simple way to satisfy your deepest chocolate cravings!
Make It Your Own!
One of the best things about this recipe is how customizable it is. Feel free to experiment with different types of chocolate, add liqueurs for a grown-up version, or mix in fun extras like peanut butter, caramel, or crushed cookies. The possibilities are endless!
Now it’s time to grab a spoon and dig in! Enjoy the layers of pure chocolate bliss, and if you try this recipe, let me know how it turned out. Did you add your own twist? Did it disappear within minutes at a party? I’d love to hear about your experience—so don’t forget to share in the comments!